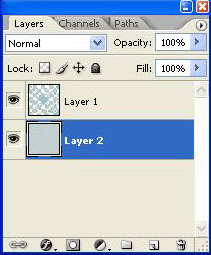
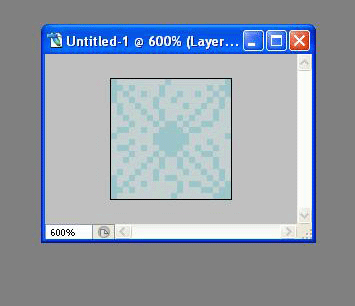
The next part of this tutorial will discuss on how to apply the new pattern you have made into a blog. This tutorial will involve Photoshop and some knowledge on CSS (Cascade Style Sheet).
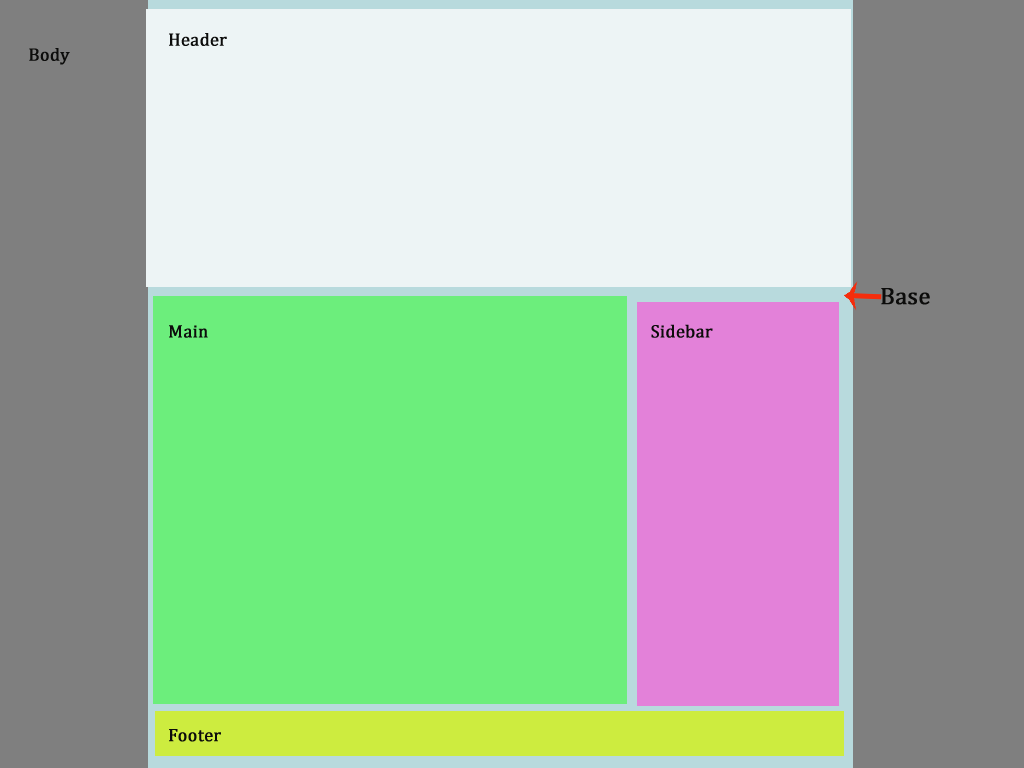
Before applying the new pattern, we need to discuss the properties of a typical blog. The picture below shows the main section of a blog. This layout is based on my blog. As you could have seen, there are several sections such as body, base, header, main, sidebar and footer.
The new pattern can be filled into any of these section and for this, you need to know the width of the section that you are going to apply the new pattern. In this blog, I have used the pattern in Base which have the width of 800 pixels. You could have used the pattern in Main which have the width of 500 pixels.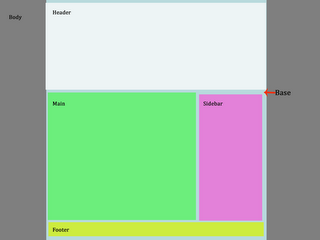
It is important to know the exact width as this have important consequence later :). Let say you are going to fill the Base which have the width of 800 pixels.
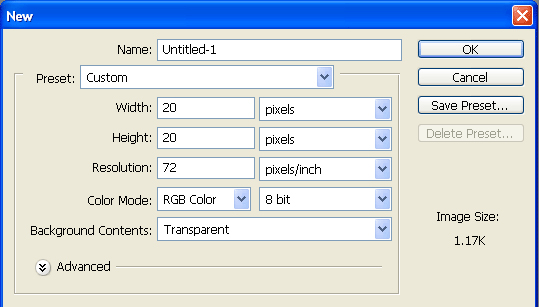
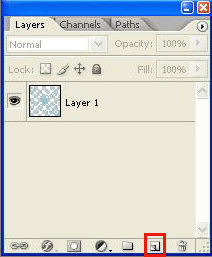
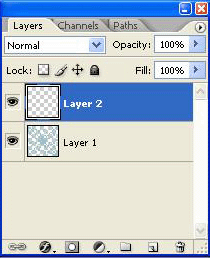
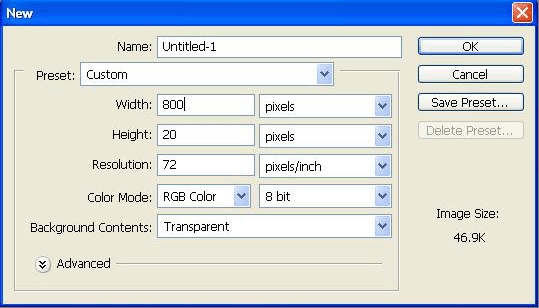
1. Create a new image 800 x 20 pixels with transparent background.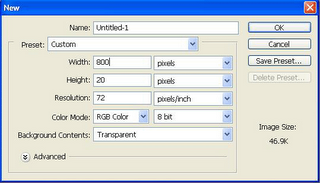
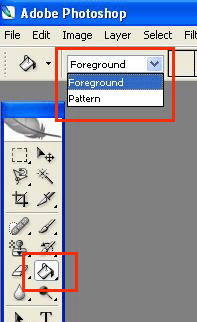
2. Next, choose fill tools and click pattern. Check the picture for clearer instruction.The new pattern can be filled into any of these section and for this, you need to know the width of the section that you are going to apply the new pattern. In this blog, I have used the pattern in Base which have the width of 800 pixels. You could have used the pattern in Main which have the width of 500 pixels.
[This measurement is based on my own blog. Thus, the exact width may be differ from your own website]
It is important to know the exact width as this have important consequence later :). Let say you are going to fill the Base which have the width of 800 pixels.
1. Create a new image 800 x 20 pixels with transparent background.
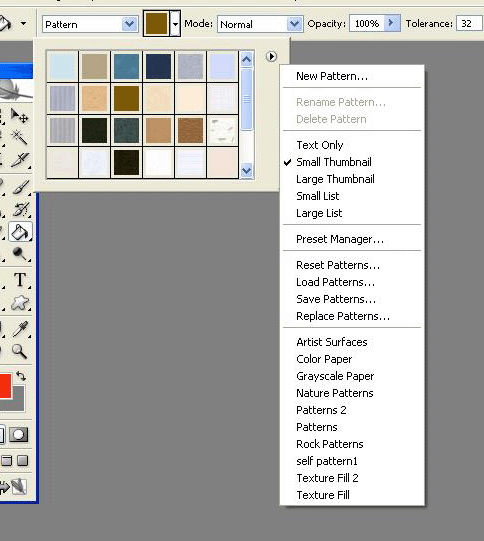
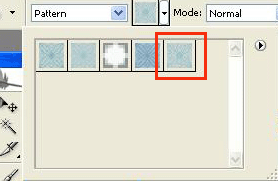
3. Usually, the new pattern that you have made will be there. I would like to show you the other options of Pattern tools. Usually I saved all my new patterns under the category of self pattern 1.
4. Next, choose the new pattern that you have made.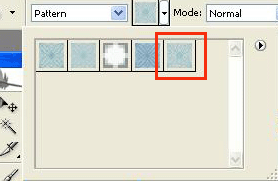
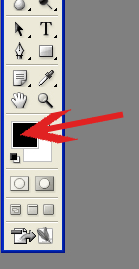
5. Now, choose the Fill tools again and choose fill Pattern with the following options. Check the picture :).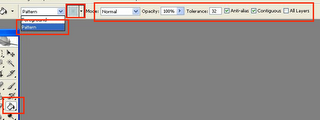 6. Now, the mouse will become a Paint Bucket. Click the empty area on the image and the new pattern will fill the entire image. The image now should look something like this...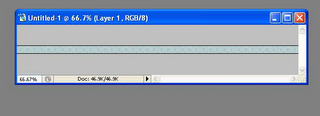
7. Now, click File / Save for Web ...and just click save and rename the file :). The new picture will be saved in the format of gif. Saving a picture as .gif reduce the size (and the quality too) of the picture and enhance the speed of viewing your website.
 9. Now, this is the tricky part where you need to know a bit about CSS :). Remember that what I have said about the width. By creating a picture with 800 pixels width, the picture now can fill the entire Base section. But the picture is only 20 pixels in height. So, how do you manage to fill the entire section with the same picture?
Please check your CSS of your website and find the location of the section that you want to fill with the pattern. In my case, I need to find '.base'.
Now, type this under .base...
An example is shown below
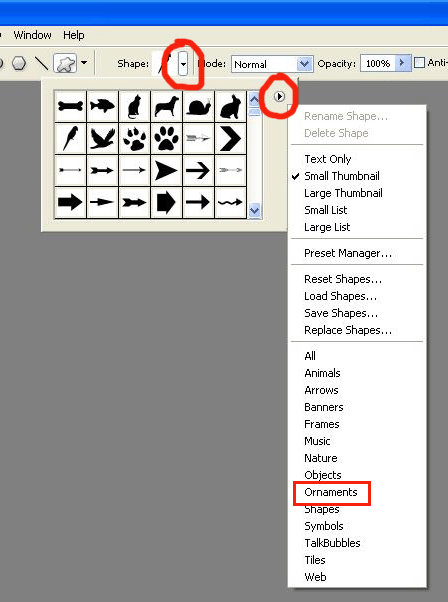
If you have created several patterns, it is a better technique to save all those patterns under a new category. By saving under one name, it will help you to transfer your own pattern in case you have to reformat your computer or if you have to reinstall Photoshop.If you click Reset Patterns, Photoshop will replace the current pattern with the default pattern. Choosing Save Patterns allow you to save the new pattern under a new name. By clicking any categories of the pattern such as Artist Surfaces, Color Paper etc, you can replace the current pattern with a new category. In my case, I need to click Self Pattern 1 as this is the category for all the new pattern that I have made previously :).
4. Next, choose the new pattern that you have made.
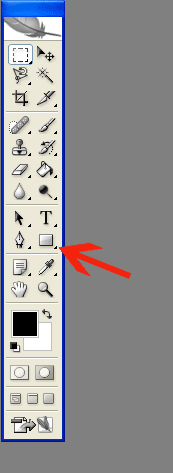
5. Now, choose the Fill tools again and choose fill Pattern with the following options. Check the picture :).
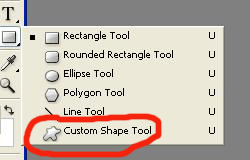
[If you could not found the Fill tools ie Paint Bucket picture, right click on the small black triangle. Remember that there are hidden tools as indicated by the small black triangle ;)]
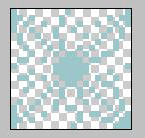
 6. Now, the mouse will become a Paint Bucket. Click the empty area on the image and the new pattern will fill the entire image. The image now should look something like this...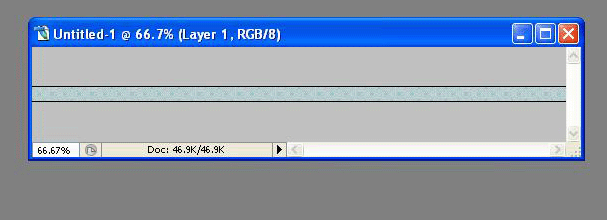
7. Now, click File / Save for Web ...and just click save and rename the file :). The new picture will be saved in the format of gif. Saving a picture as .gif reduce the size (and the quality too) of the picture and enhance the speed of viewing your website.
[All the pictures of these two tutorials are in the form of gif. Hence you might notice the low quality but faster speed of viewing the pictures]8. Now, you should have an image that has been filled with the new pattern. Next, you need to upload the new picture into any website that can hosts the picture. You can use Blogger since they provide the option to upload the picture. Please remember the url of the picture ;). The final image will be looking like this. Since the pattern is the same as my background, probably you cannot see the exact picture. Try to click somewhere below this sentence :D
 9. Now, this is the tricky part where you need to know a bit about CSS :). Remember that what I have said about the width. By creating a picture with 800 pixels width, the picture now can fill the entire Base section. But the picture is only 20 pixels in height. So, how do you manage to fill the entire section with the same picture?
Please check your CSS of your website and find the location of the section that you want to fill with the pattern. In my case, I need to find '.base'.
Now, type this under .base...
background: url('yourpicturelocation') repeat-y;The trick here is 'repeat-y'. By writing this, the picture will be repeated along the y-axis (vertical) and thus fill the entire section till the bottom of the website. If you write 'repeat-x', the picture will be repeated along the x-axis and you can fill horizontally.
An example is shown below
.base {
margin: auto;
background: url('http://photos1.blogger.com/blogger/1708/517/1600/wrapper.0.gif') repeat-y;
width: 800px;
10. Now, having done that, you need to make sure that all the other sections do not have the properties of background or colours in their CSS. If they have those properties, your pattern in .base may be hidden behind .main, .sidebar, .header etc. Let me know if this sound too confusing :)
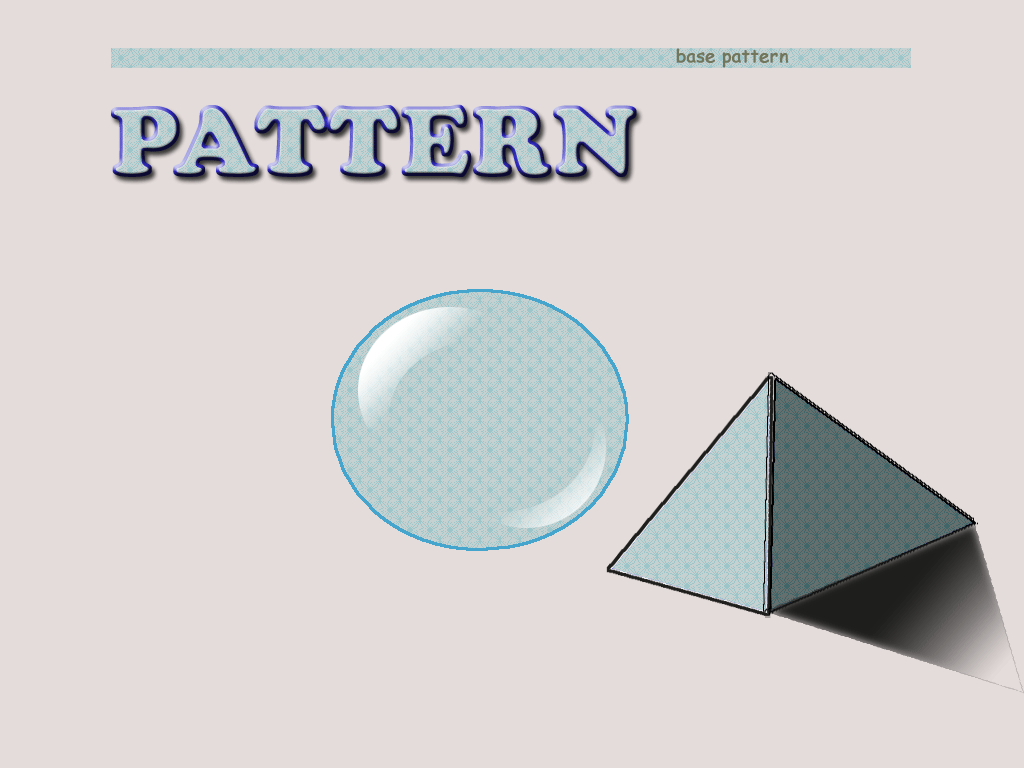
11. Hopefully, you can manage to do the previous step :). If you have any problem, feel free to leave your question in the comment box.Beside doing pattern for your website, the picture below shows few examples on how you could use pattern.
 For more photoshop tutorials, you can either click the link under Photoshop reference on your right or click here.